- Theme Settings allow you to manage what the theme of your sites will look like
- Theme Settings are automatically applied to every page on your site
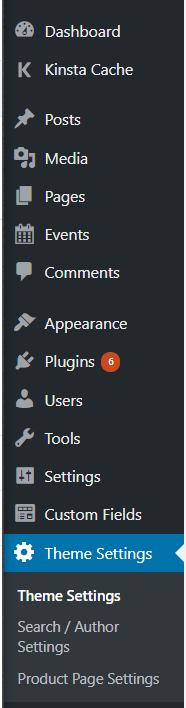
Step 1
- Navigate to the Theme Settings tab
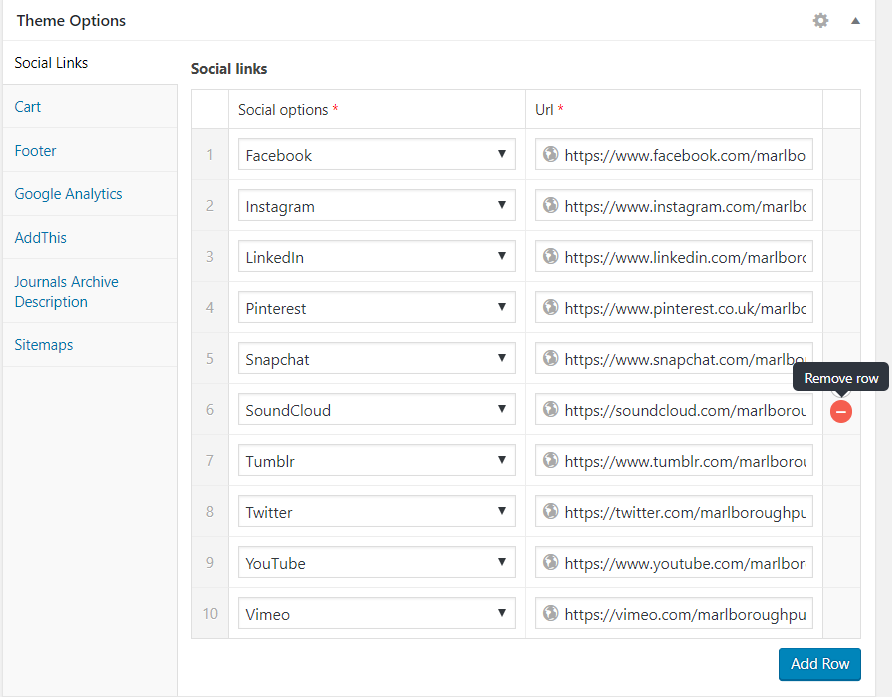
Social Links
- This section allows you to manage which social media links will show at the bottom of all of your pages
- Simply select a pre-existing social platform from the dropdown menu
- Then enter the relevant platform URL to direct users to your social media site
- You can add and remove Social Options using the + and – buttons on the right, or by clicking ‘Add Row’

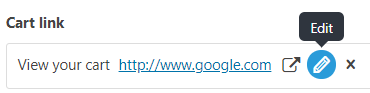
Cart
- This section allows you to manage your cart’s description and URL
- This is particularly useful if your eCommerce is managed on a separate website
1.Click on the pencil icon to edit your cart link
2.If your cart is on a different site, enter that site’s cart URL
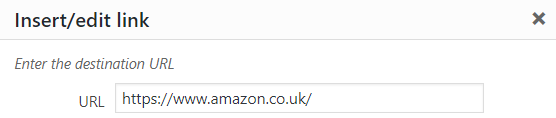
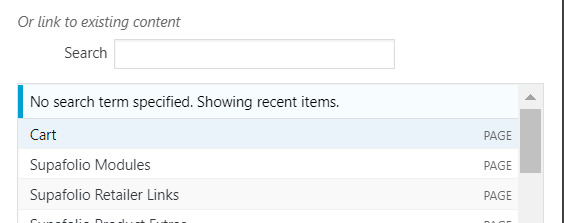
3. If your cart is on the same site, select your Cart page within ‘existing content’
4. Enter cart link description, and select whether you would like the link to open in a new tab or not

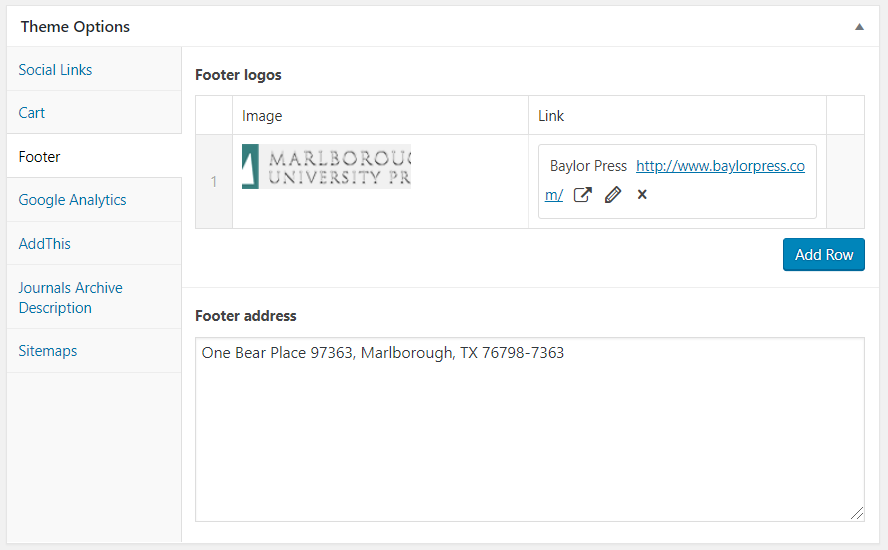
Footer
- This section allow you to edit your footer image, image link, and postal address
- Your footer will show on all of your pages
- Enter desired image
- Enter desired image link
- A user will be directed to this link if they click on your image
- Enter desired footer postal address
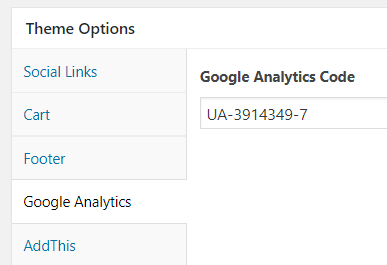
Google Analytics
- If you use Google Analytics to track your website, this is where you will enter your specific Google Tracking ID to link your site with Google
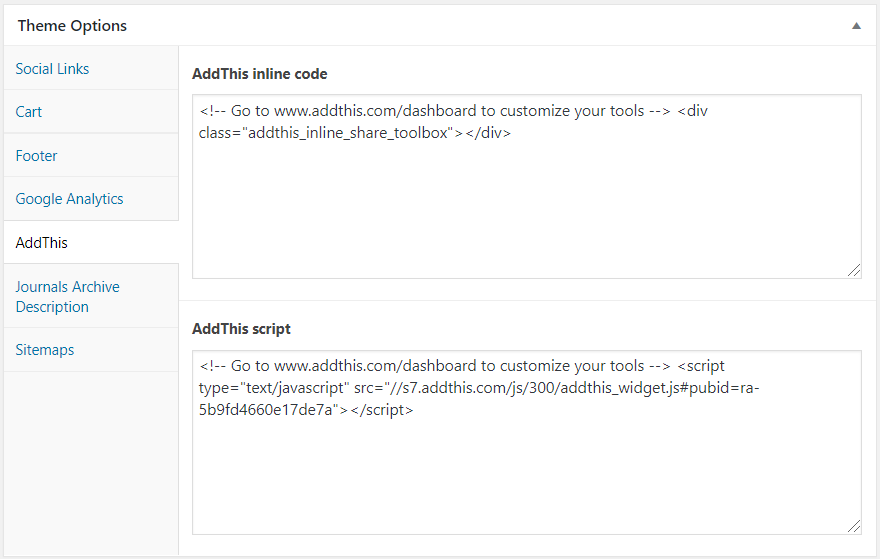
AddThis
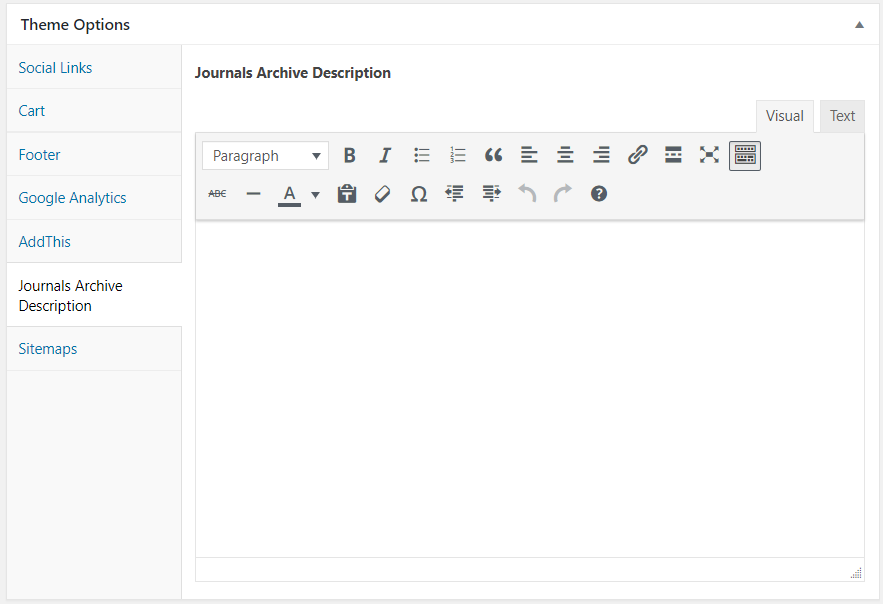
Journals Archive Description
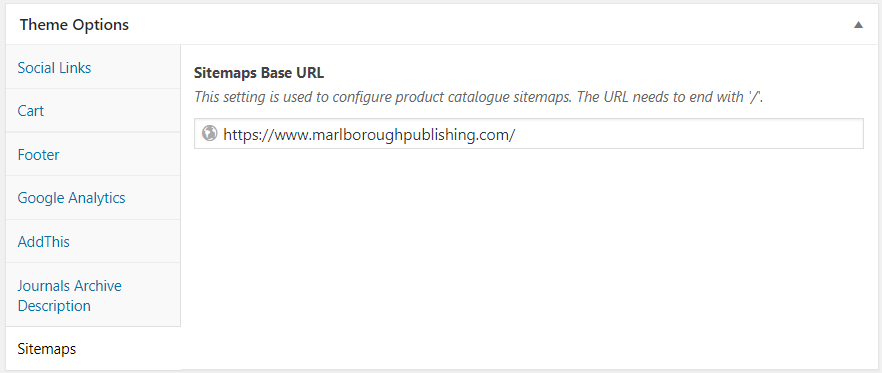
Sitemaps
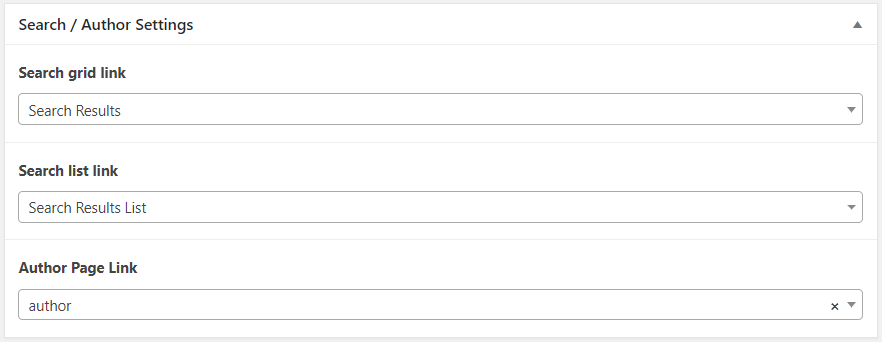
Search/Author Settings
Product Page Settings
