- This tool allows you to add additional information to individual titles
- This is non-mandatory
Step 1
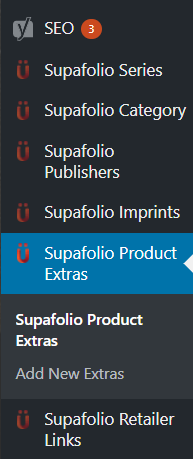
Navigate to the Supafolio Product Extras listing in WordPress
Step 2
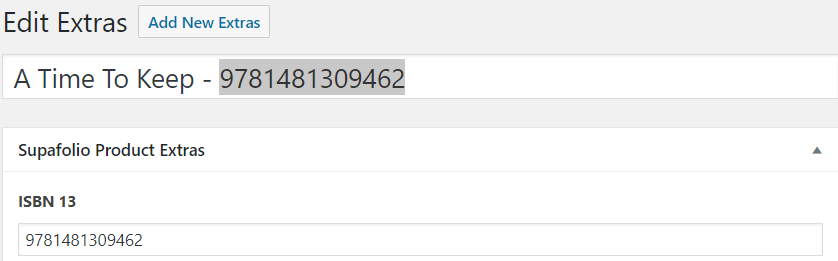
Click the ‘Add New Extras’ button. Now you’ll see the Add New Extras page where you can create and detail your extras.
Step 3
Enter Extras Title
- The customer cannot see this – this is just a point of reference for you
- Therefore, we recommend you include the book title and the ISBN so as to avoid confusion
Step 4
Enter ISBN number
- This lets WordPress know which product you are applying an additional description to
Step 5
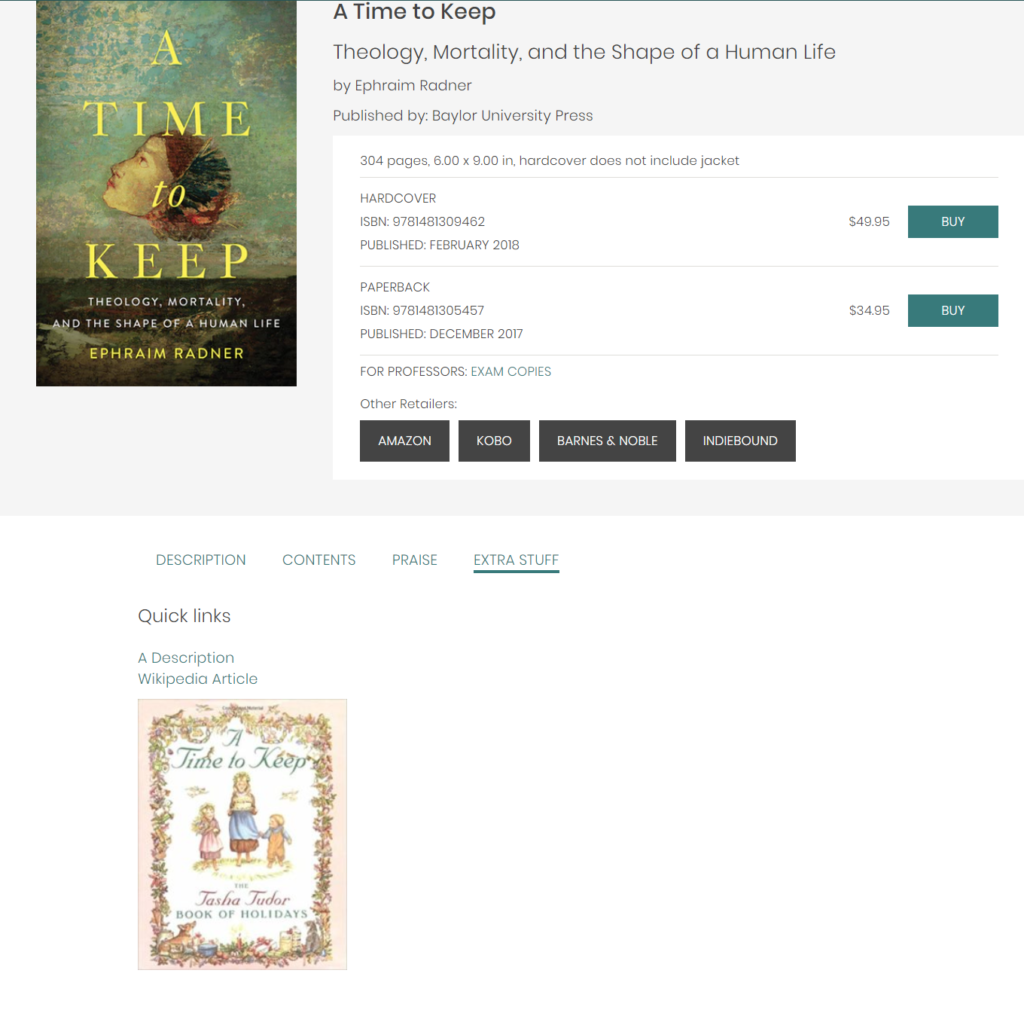
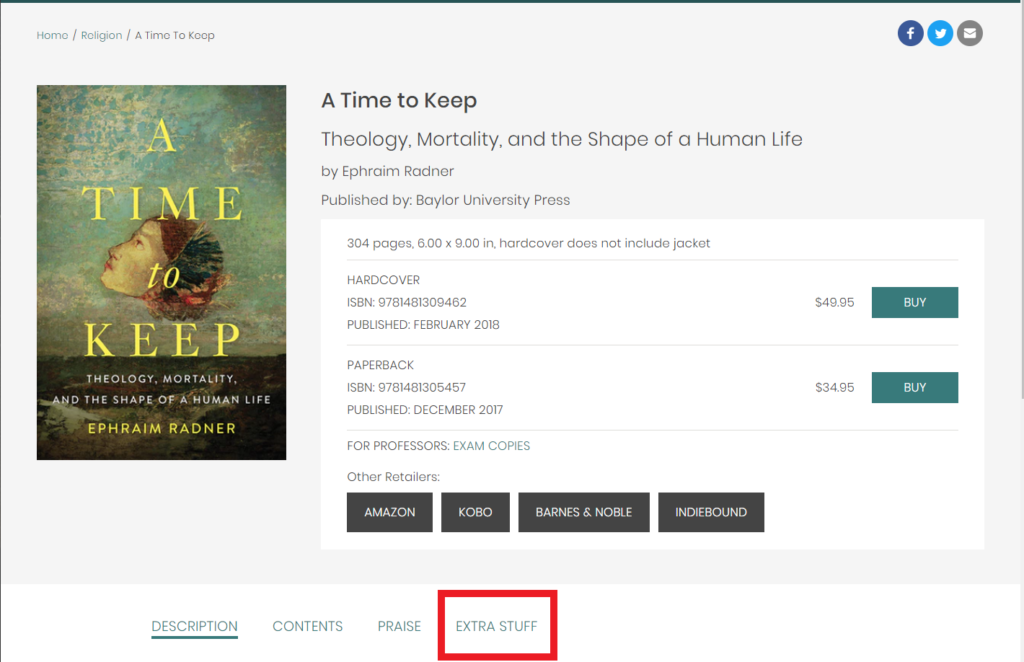
Enter Extra Content Title
- This is what the customer will see on the individual product’s page
- In our example, we have called it ‘Extra Stuff’ – you can call it whatever you like
Step 6
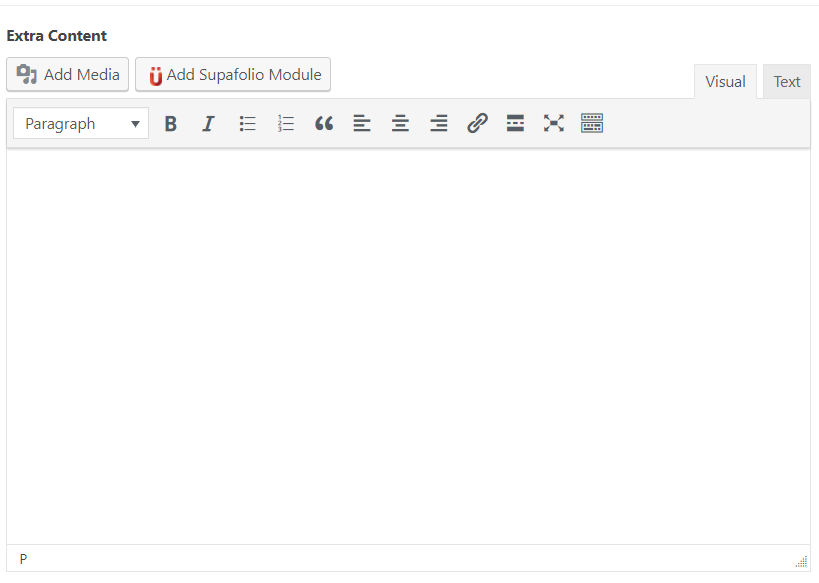
Enter any any necessary info into rich text area
- The Visual tab will bring up the visual WYSIWYG editor.
- WYSIWYG just means “what you see is what you get.”
- Here you’ll see a formatting toolbar with lots of options for formatting your posts.
- If you’re familiar with Microsoft Word or any other word processing software, most of these icons should look familiar.
- Text tab
- If you click the Text tab, this will reveal a plain-text HTML version of the post editor.
- This version of the post editor is for editing the HTML code of your post.
- For most users, the Visual editor is the easiest way to write posts.
Step 7
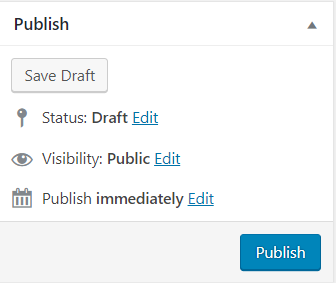
Publish, save or preview your event.
- At the top of the right column on this screen you’ll see the Publish box.
- Here, your can save your post as a draft if you’d like to save it for later.
- If you click the Preview button, you can get a preview of how the post will look once it’s published.
- The Status of the post will show if the post has been published, saved as a draft, if it’s pending review of if it’s been scheduled.
- The next two links show the visibility of the post — or what visitors will be able to see your post.
- The Publish line shows whether the post will be published immediately or at a later date.
Step 8
- Once you’ve clicked Publish, you can view your product extras on your site’s title page