This page details how to create and manage news on your website.
Step 1
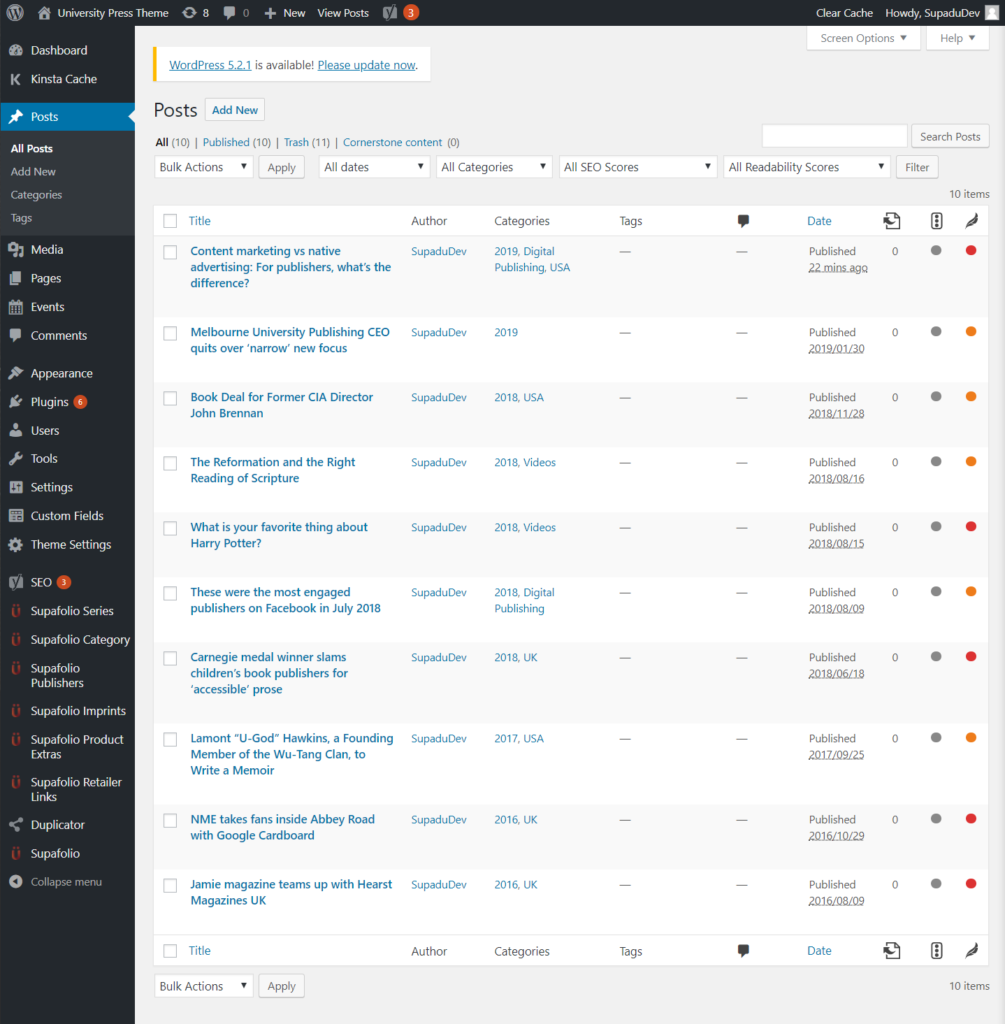
Navigate to the Posts listing in WordPress
Step 2
Click the ‘Add New’ button to create a news record. Now you’ll see the Add New Post page where you can create and detail your news page.
Step 3
- Enter Post title
- Enter Post content below
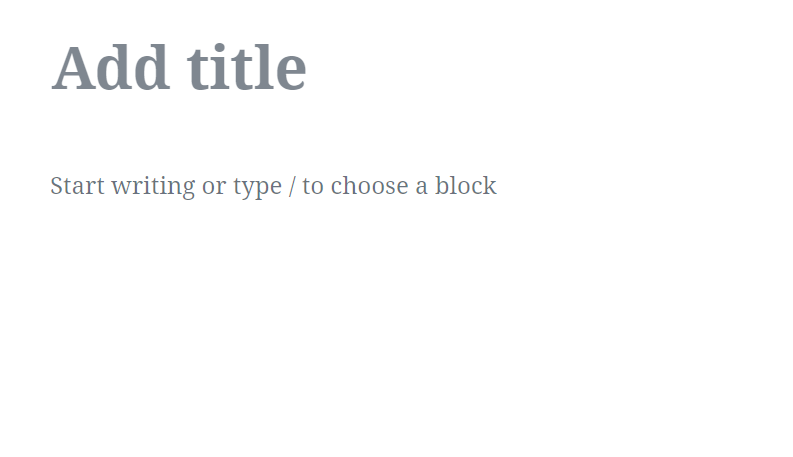
Typing / allows you to quickly insert new paragraphs, images, hyperlinks, videos and more
Step 4
Upload a featured image (non-mandatory)
- Using the tool on the right hand side of the page in WordPress, upload a featured image to display on the event listings page.
- The image needs to be width 768px (any height)
- The most recent news article featured image is shown on the homepage
- Therefore, your page may look a little sparse if there is no featured image on the most recent news article

Step 5
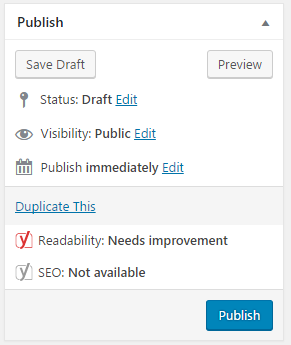
Publish, save or preview your post.
- At the top of the right column on this screen you’ll see the Publish box.
- Here, you can save your post as a draft if you’d like to save it for later.
- If you click the Preview button, you can get a preview of how the post will look once it’s published.
- The Status of the post will show if the post has been published, saved as a draft, if it’s pending review of if it’s been scheduled.
- The next two links show the visibility of the post — or what visitors will be able to see your post.
- The Publish line shows whether the post will be published immediately or at a later date.
Step 6
Once you’ve clicked Publish, you can view your post on both the news listing and news details page